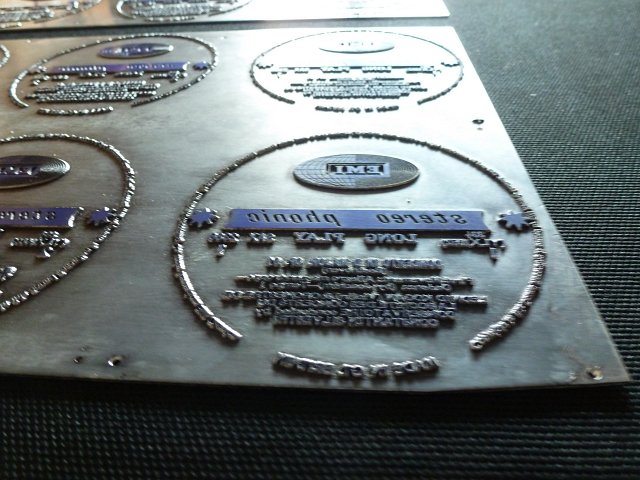
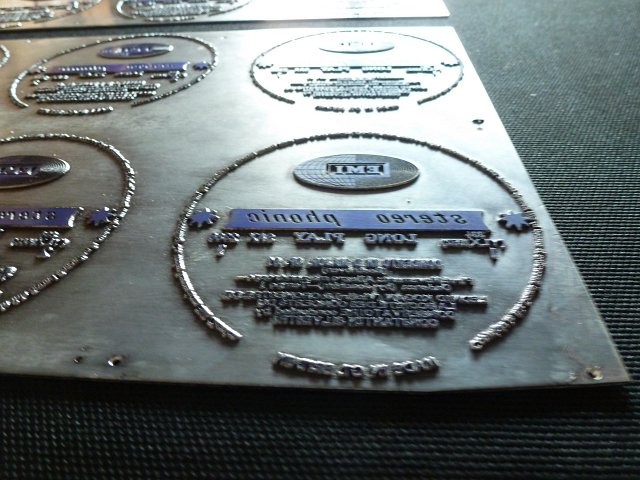
fig 1. Label text plate close up
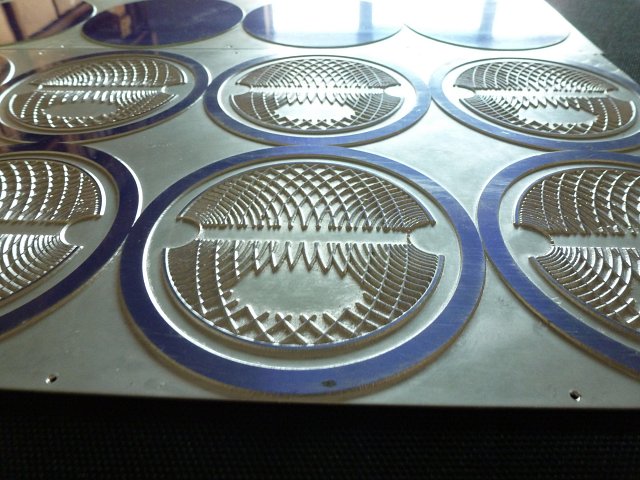
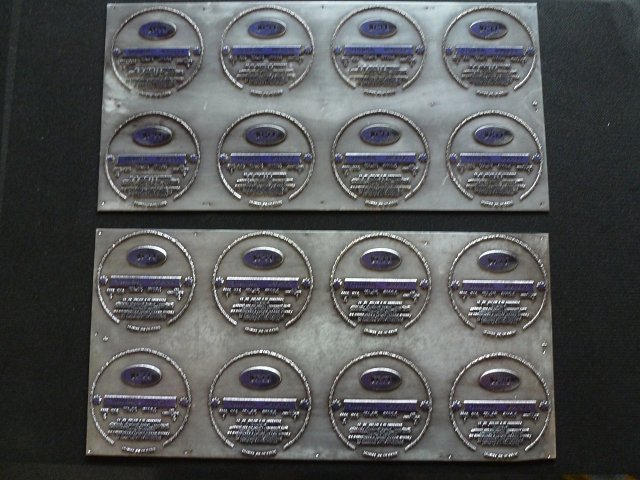
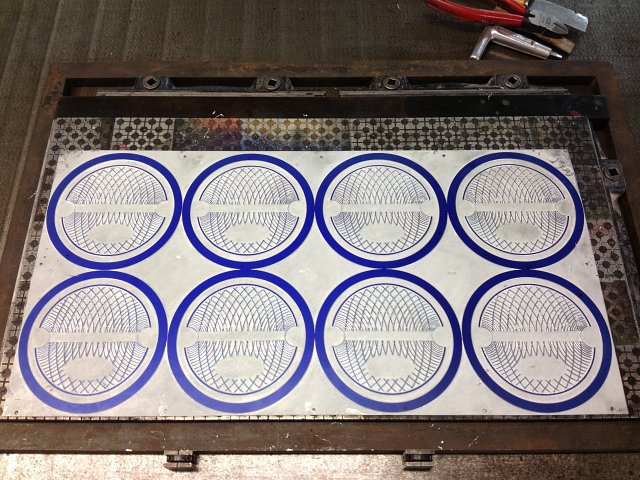
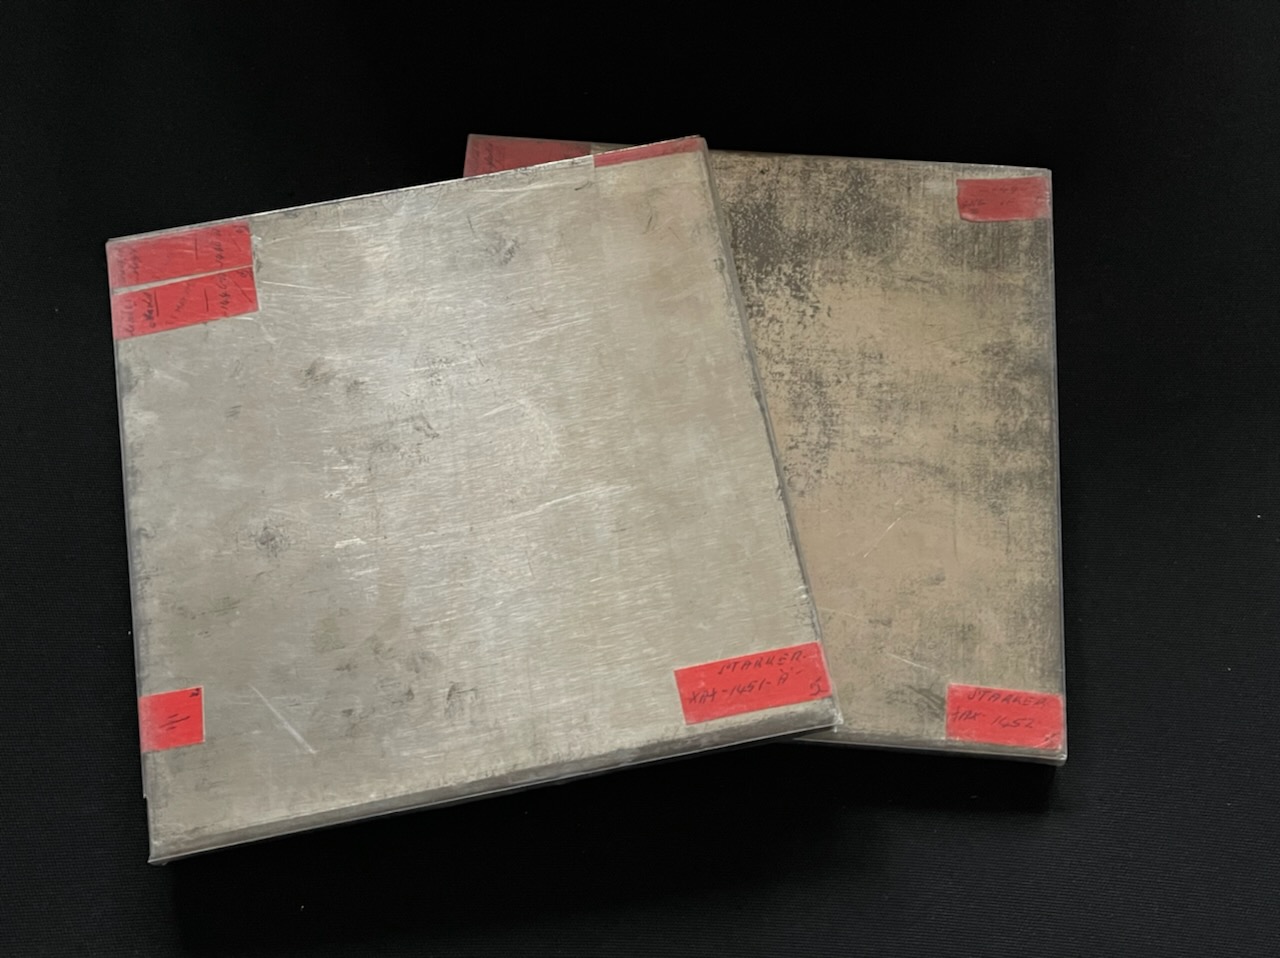
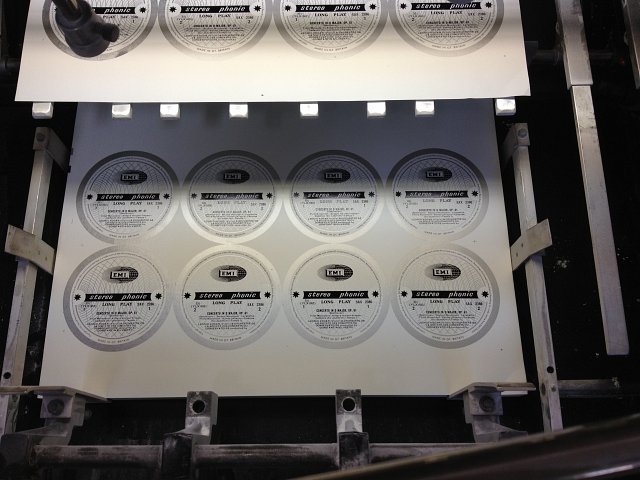
fig 4. Silver part label plate ready for the press
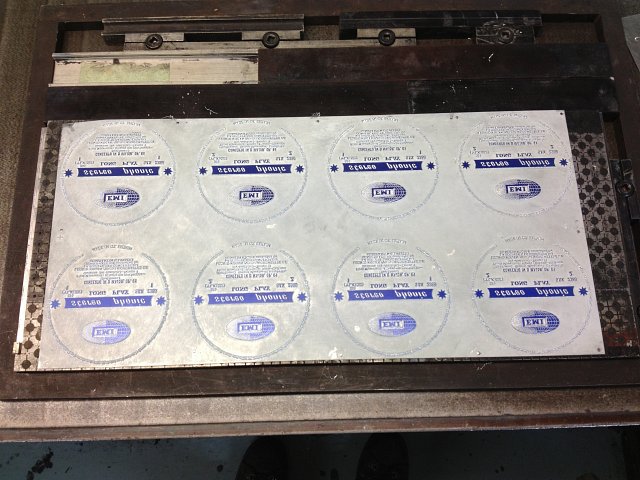
fig 5. Black type label plate ready for press
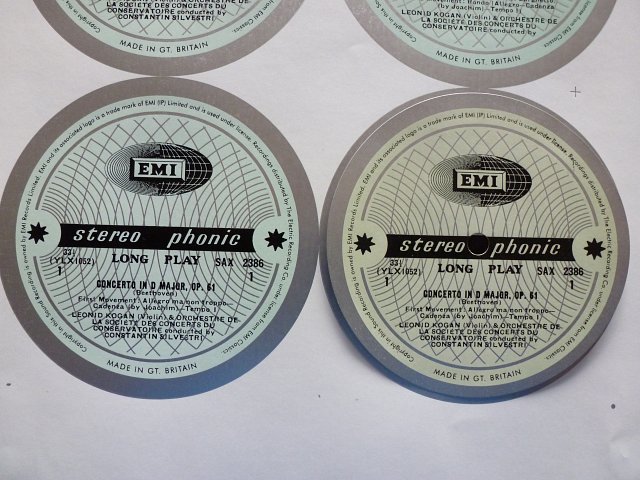
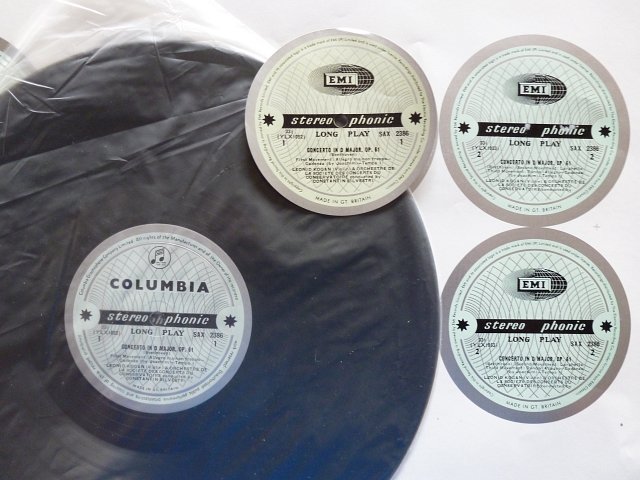
With the two detail plates and the third back ground plate all printing different colours, the labels go through a three press procedure
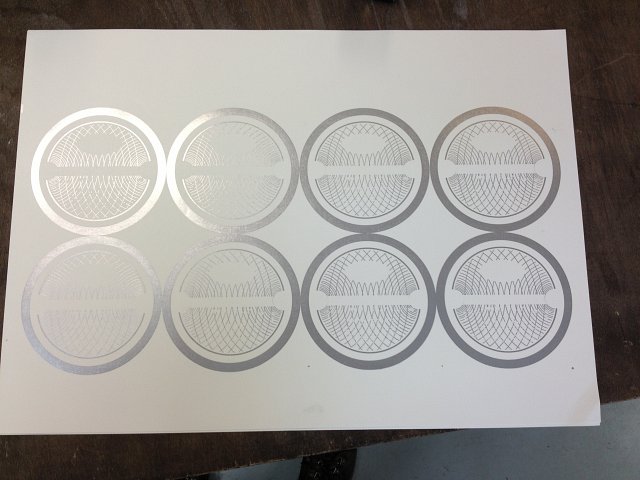
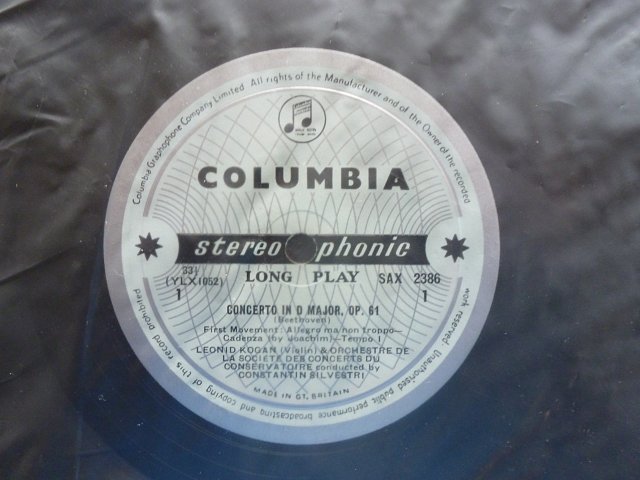
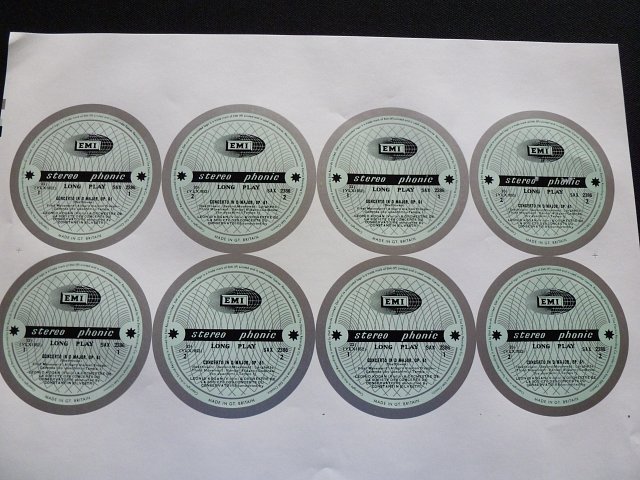
On Baking test metallic silver held well labels changed colour slightly. Note all Columbia SAX series labels have slightly different tonal qualities.
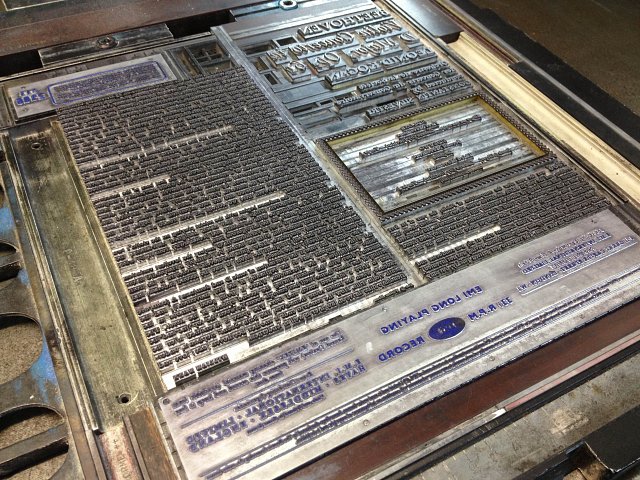
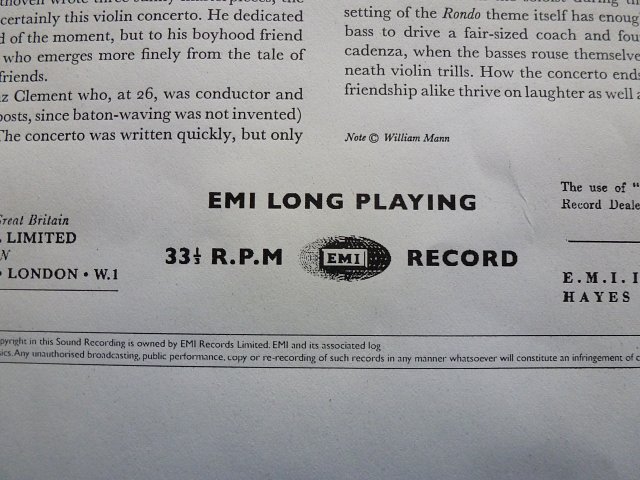
The full letter pressed back sleeve page proof ( fig. 9) arrives and the general look is correct, although it is noted that the EMI logo is breaking up (fig. 10) A new plate from amended artwork is ordered and the new page proof is perfect.
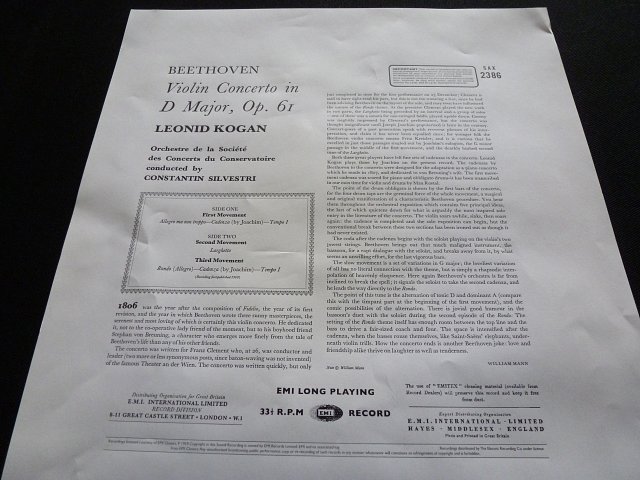
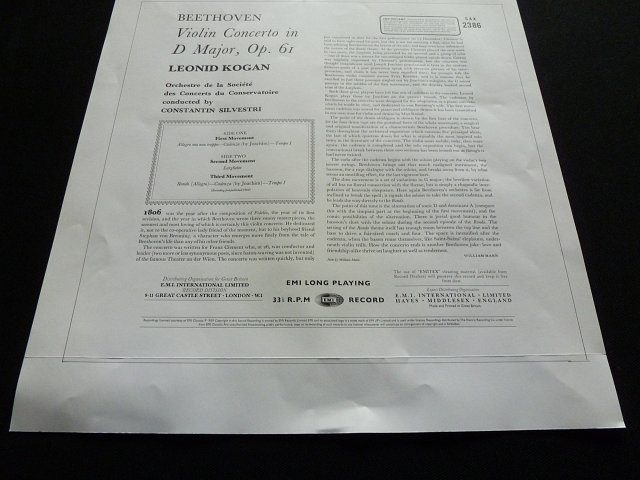
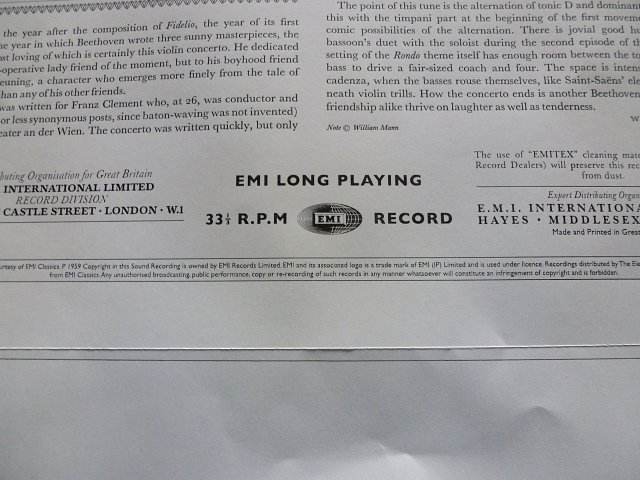
The next step was to print on the chosen board (matched to the original sleeve) and mock up the sleeve.
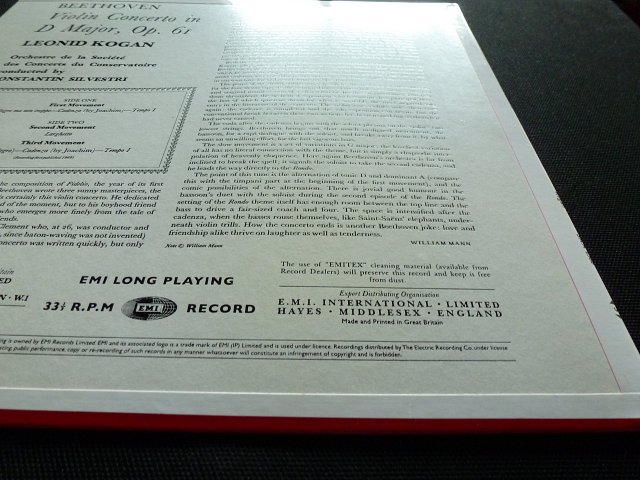
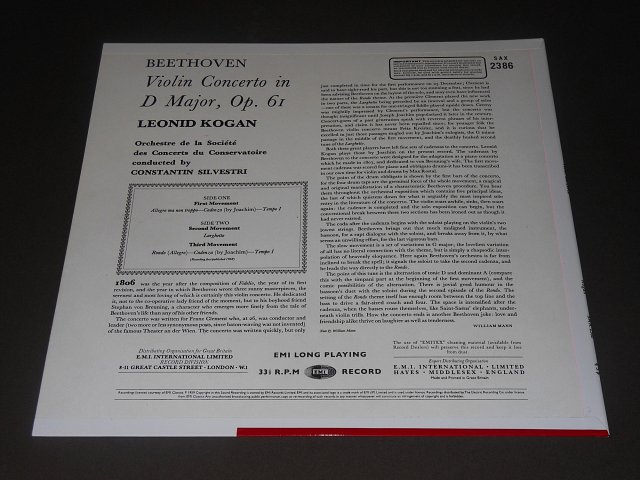

The mock up sleeve is correct and we are satisfied with the result of the back panel (fig. 16). The front cover needs some minor adjustments and new samples are expected next week. Fig 19 shows the forme which prints the back of the sleeve
